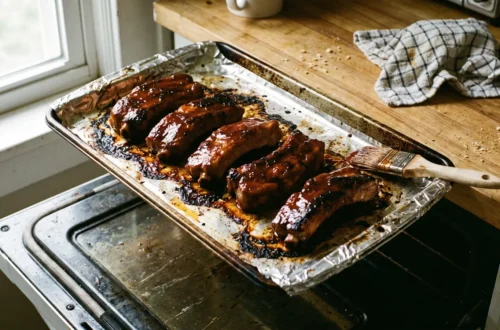
How to Cook a Tomahawk Steak with a Reverse Sear
Warm the steak in a steady 250°F indirect zone until the center reads about 110°F — roughly 15°F below your pull temperature — then sear 2–3 minutes per side, pull it at 125°F, and rest 5 minutes for a 130°F medium-rare.
What a Tomahawk Steak Really Is — and Why the Reverse Sear Cooks It Evenly
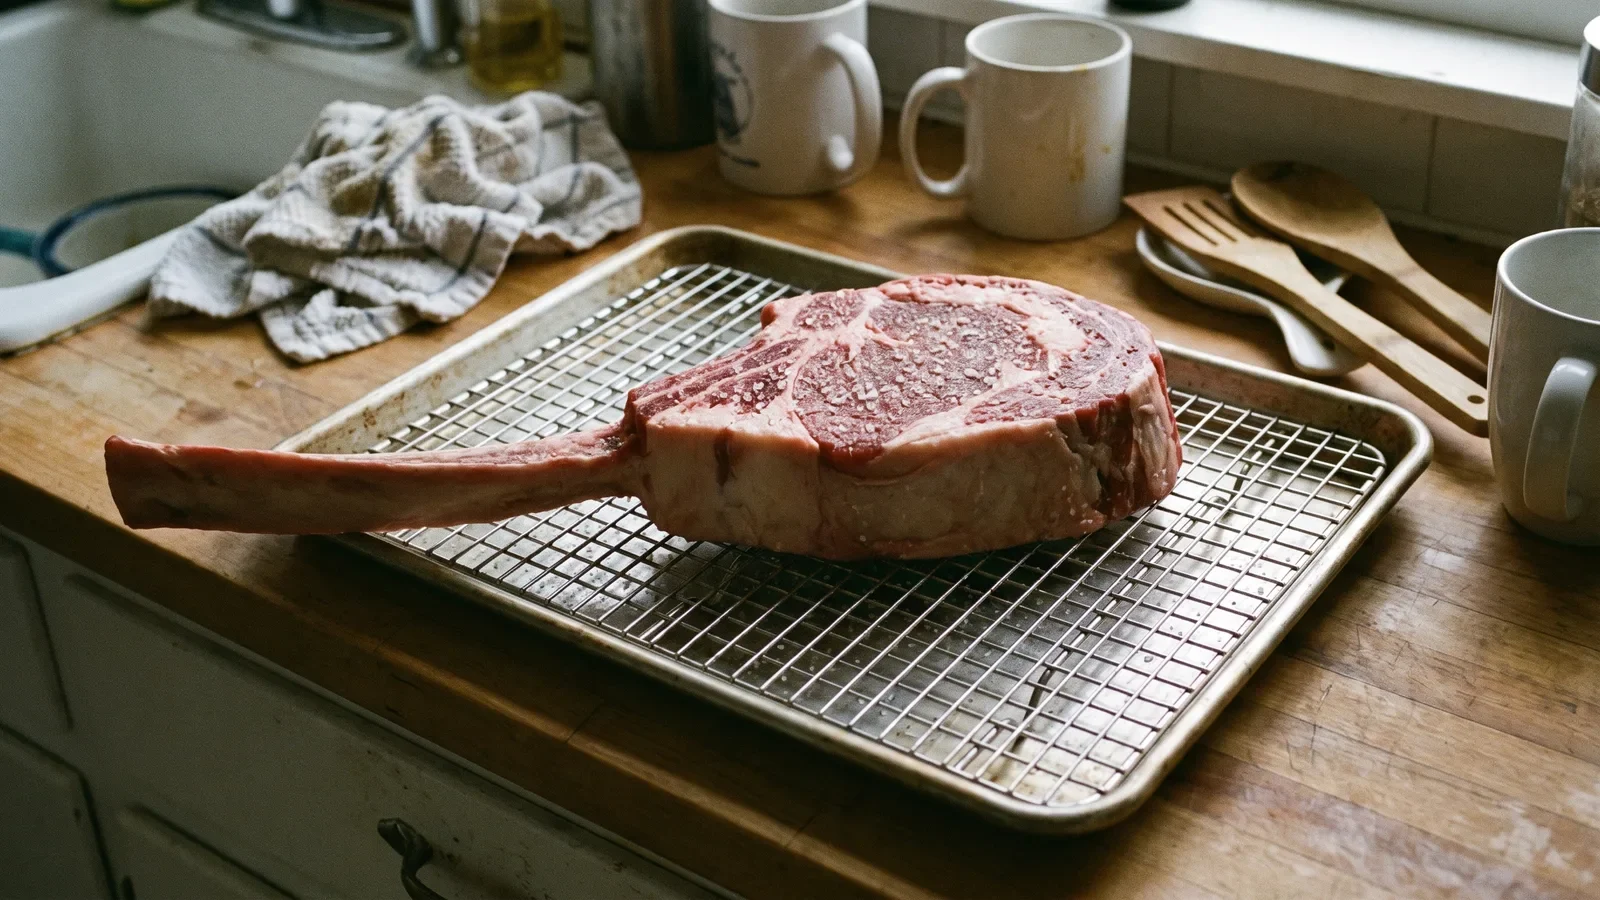
Your butcher cuts a tomahawk from the rib primal and frenches the long rib bone clean, which is where the axe-handle look comes from. Strip away the drama and it is a bone-in ribeye: a fatty spinalis cap, a leaner eye, and a seam of fat running between them. The cap cooks faster than the eye, and that mismatch is half the problem.
ThermoWorks notes that a tomahawk is a steak over two inches thick, which is why its thermal behaviour matters so much when choosing a cooking method. Beef conducts heat slowly. Drop that slab onto a screaming grill and the outer half-inch goes gray and tight long before the center warms up at all.
A reverse sear flips the order of operations. You warm the meat in gentle, dry heat until the interior sits about 15°F under your pull temperature, then blast the surface for crust — and that sear does the last stretch of cooking. Gentle heat creates a shallow temperature gradient from rim to center, so a slice comes out pink nearly edge to edge instead of banded gray, pink, red.
Cooking one at home also makes financial sense. ThermoWorks argues a tomahawk is worth cooking at home rather than ordering out, citing a 300% restaurant markup on ingredients for what is largely presentation bone weight. You pay for the handle either way — you may as well keep the markup.
Checklist: Gear, Temperatures and Timings Before You Start
Nothing here is exotic, and the thermometer matters more than the heat source. A home oven and one cast iron skillet will do the entire cook.
- Instant-read thermometer — the one tool you cannot substitute
- Leave-in probe thermometer — tracks the climb so you stop opening the door
- Wire rack in a rimmed sheet pan — air moves under the steak
- Cast iron skillet, carbon steel pan, or a clean grill grate for the sear
- High-smoke-point fat — beef tallow, refined avocado oil, or ghee
- Long tongs and heavy gloves — a tomahawk is heavy and badly balanced
- Coarse kosher salt and cracked black pepper
- Heavy-duty foil to shield the exposed bone
- Carving board with a juice groove and a long slicing knife
Speed matters in a thermometer because you are standing over a smoking pan with your hand in the heat. ThermoWorks says the Thermapen ONE instant-read thermometer reads in one second and is specified as accurate to 0.5°F (0.3°C), which is why it suits checking a steak during a hot sear. A slow dial thermometer costs you crust while the needle crawls.
Owning one is not the same as using one. According to a USDA FSIS meal preparation study, only 55% of people actually use a food thermometer to check their food is safe, even though 88% said they own one. On a steak this expensive, guessing by feel is a bad trade.
Read the steak, not the clock. Weight, thickness, fridge temperature and how fast your oven recovers all move the timeline, so treat every time estimate as a planning tool rather than an instruction.
| Stage | Target |
|---|---|
| Indirect / oven temperature | 250°F, held steady |
| Come off low heat | about 110°F internal — roughly 15°F below the pull temperature |
| Sear surface | hottest you can safely run |
| Pull off the sear | 125°F internal for medium-rare |
| Final internal temperature | 130°F for medium-rare, after the rest |
| Rest after searing | 5 minutes before slicing |
For a tomahawk, ThermoWorks says to pull the steak at 125°F (52°C) for a final medium-rare of 130°F (54°C) and rest it 5 minutes before slicing. In the reverse sear, ThermoWorks says the low-temperature stage runs until the steak is about 15°F (8°C) below the target pull temperature, and the final sear finishes the cooking — so for a 125°F pull, the steak leaves the indirect heat around 110°F.
Safety guidance sits above those numbers and you should know the gap exists. USDA FSIS says all raw beef steaks, chops and roasts should be cooked to a minimum internal temperature of 145 °F measured with a food thermometer before removing them from the heat source. Medium-rare is a personal risk call; cook to the USDA number if you are feeding anyone pregnant, very young, elderly or immunocompromised.
For scheduling, give yourself a comfortable two-hour window from oven-on to plated, and start probing well before you think the steak is close.
Step 1 — Trim, Dry-Brine and Foil-Wrap the Bone
Time: about 10 minutes of hands-on work. You need: a boning or paring knife, paper towels, a sheet pan.
Pat the steak dry and study the fat. The hard, waxy outer fat on the cap side will not render during a low, slow stage, so shave it down to a thin, even covering that lets salt reach meat. Leave the intramuscular marbling completely alone — that is the flavor you paid for.
Pull away loose silverskin and any ragged flap hanging off the edge, since those bits burn during the sear and taste like scorched paper. Scrape the frenched bone clean with the back of your knife if the butcher left membrane behind.
Salt every surface heavily — more than feels comfortable, because two inches of meat needs it — then set the steak on the wire rack and leave it uncovered in the fridge overnight. Salt pulls moisture out, dissolves in it, and travels back in seasoned. The exposed surface dries at the same time, which is exactly what you want for browning.
Wrap the bare bone in heavy foil before it goes near heat. Unprotected bone blackens, and burnt bone smells like singed hair over a plate of beef. That foil is the cheapest insurance in the whole cook.
Step 2 — Set Up a Steady 250°F Indirect Zone (Oven or Two-Zone Grill)
Time: 15 to 20 minutes to preheat. You need: oven or grill, rack and sheet pan, an independent probe.
ThermoWorks recommends running the indirect stage of a tomahawk reverse sear at 250°F (121°C) to heat the interior evenly for an edge-to-edge pink result. Steadiness beats precision. A kettle drifting between 225°F and 275°F still delivers; one spiking toward 400°F will band the outer meat before the center moves.
In an oven, put the rack-and-pan setup on the middle shelf and turn convection off, since hard fan circulation dries and cooks the exterior faster than you want.
On charcoal, bank all the coals to one side, place the steak on the far side, and set the lid vent directly over the meat so heat draws across it. On gas, light the outer burners, leave the middle off, and park the steak over the dead burner.
Trust your own probe over the built-in lid dial, which reads air near the hood rather than air near your food.
Step 3 — Slow-Roast to About 110°F (15°F Below Your Pull Temperature)
Time: usually well over an hour for a steak this thick. You need: leave-in probe, and the discipline to leave the door shut.
Slide the steak in, push the leave-in probe into the thickest part of the eye, and walk away. Every time you open the oven or lift the lid you dump heat and stretch the cook. The internal temperature creeps for the first stretch, then climbs faster as the whole mass warms.
Start paying attention once the readout passes 100°F, because the last stretch moves quickly. ThermoWorks puts the tomahawk pull temperature at 125°F (52°C) for a medium-rare finish, and says the low stage should end about 15°F (8°C) short of it — so take the steak out of the indirect heat around 110°F and let the sear cover the rest.
Probing for the Coldest Spot
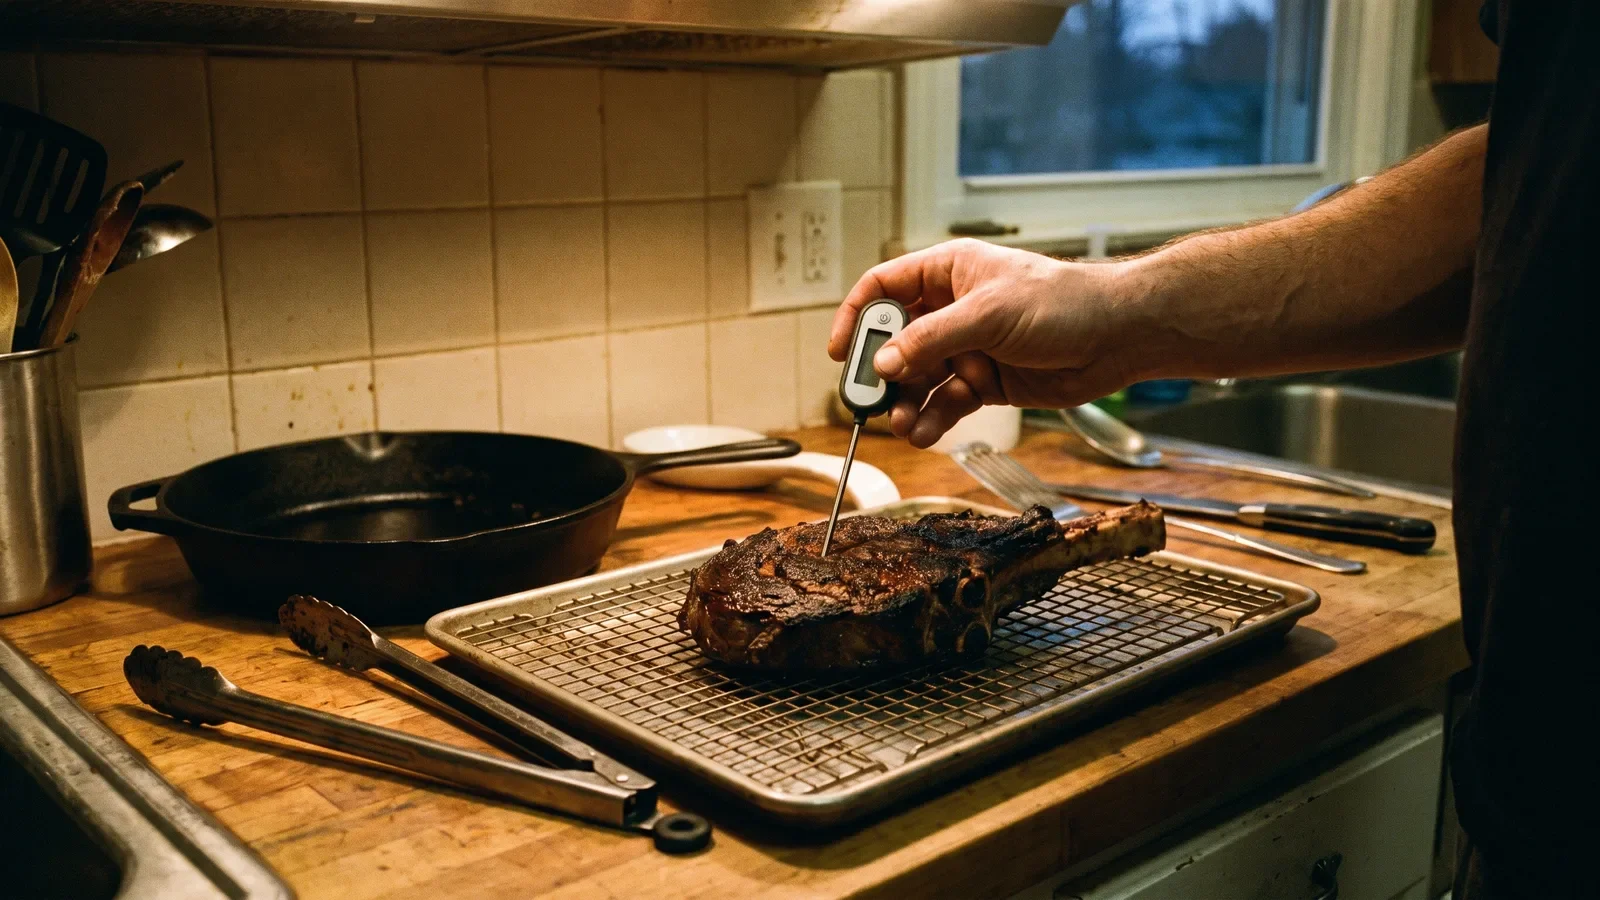
Bone conducts heat differently than muscle, and the meat hugging it warms unevenly. Insert your instant-read from the side, push slowly through toward the geometric center, and watch the number fall and then rise — the lowest reading on that sweep is your real temperature.
Take three readings in different spots and believe the coldest one. Keep the tip out of fat seams, which read hotter than the meat around them.
Step 4 — Rest the Steak While You Get the Sear Surface Ripping Hot
Time: roughly 10 minutes. You need: cast iron or a clean hot grate, tallow, tongs, ventilation.
Move the steak to a board or rack the moment it hits about 110°F, roughly 15°F under your 125°F pull temperature. This pause is not about juices — it lets the interior settle and gives the surface time to shed moisture while your pan comes up to heat, leaving the sear enough headroom to finish the cooking.
Blot every face, edge and crevice with paper towels until the meat feels tacky rather than damp. Surface water has to boil off before browning can begin, and that delay is what produces a pale, leathery crust instead of a dark one.
Heat the empty pan over high heat until a flicked drop of water skitters and vanishes on contact. Open a window and switch on the hood before the fat goes in, because a proper sear smokes. Add a thin film of tallow only in the last seconds before the steak lands.
Step 5 — Sear Hard, Check Temps, Then Rest and Carve Off the Bone
Time: under 10 minutes. You need: heavy gloves, long tongs, a spoon if you plan to baste.
Lay the steak into the pan away from your body and press it down briefly with tongs so the whole face makes contact. ThermoWorks’ searing instruction for a tomahawk is to cook the first side for 2–3 minutes before flipping. Leave it alone during that window — moving the steak resets the browning clock.
Flip, repeat on the second face, then stand the steak on its fat edge and hold it there with tongs until that strip renders and colors. Butter, a crushed garlic clove and thyme go in at the very end if you want them, spooned over the top for under a minute.
Probe immediately after the second side, sweeping for the same coldest spot you found earlier. ThermoWorks says to pull a tomahawk off the heat at 125°F (52°C), which lands at a final medium-rare of 130°F (54°C) after the rest. If the reading comes up short, return the steak to the indirect zone rather than leaving it on direct heat, because the crust is already done and the interior is not.
USDA FSIS advises letting meat rest for at least three minutes before carving or eating it, for both safety and quality, and ThermoWorks suggests a 5-minute rest for a tomahawk after the sear — that rest is what carries a 125°F steak to 130°F. Tent it loosely or not at all — tight foil steams the crust you just built.
Run your knife down along the rib bone to release the eye in one piece, then slice across the grain into finger-width slabs. Lay the slices back against the bone to serve and finish the cut faces with flaky salt.
Common Mistakes That Ruin a Tomahawk (and How to Avoid Them)
The most common failure is probing right beside the bone. Bone-adjacent meat runs cooler, the reading comes in low, the cook panics and leaves the steak in longer, and a beautiful medium-rare turns into a gray roast. Fix it by inserting the probe from the side into thick muscle, well away from bone and fat, and sweeping for the lowest number.
Other ways this cook goes wrong:
- Searing first. A hot start builds a thick overcooked band before the center moves at all.
- Taking the low stage all the way to your pull temperature. The sear adds another 15°F or so, so leaving the indirect heat at 125°F puts you past medium-rare before the crust forms.
- Salting in the middle window. Salt overnight or salt as the steak hits heat; salting a short while before cooking leaves the surface wet.
- Skipping the foil on the bone. Charred membrane perfumes the whole steak.
- Searing wet meat. Water boils before it browns, so blot the surface right before the pan.
- Finishing under the broiler. Radiant heat colors unevenly and overshoots the thin cap fast.
- Cutting straight off the heat. Give it the rest and keep the juice on the board instead of in a puddle.
Heat drift is the quieter problem. A grill creeping upward turns the slow stage into a fast one, so check your pit temperature every twenty minutes or so and adjust vents before the number runs away.
Final Checklist Before You Cook
Run through this list once before the steak goes anywhere near heat. Most tomahawk disasters trace back to a skipped line rather than bad technique at the pan.
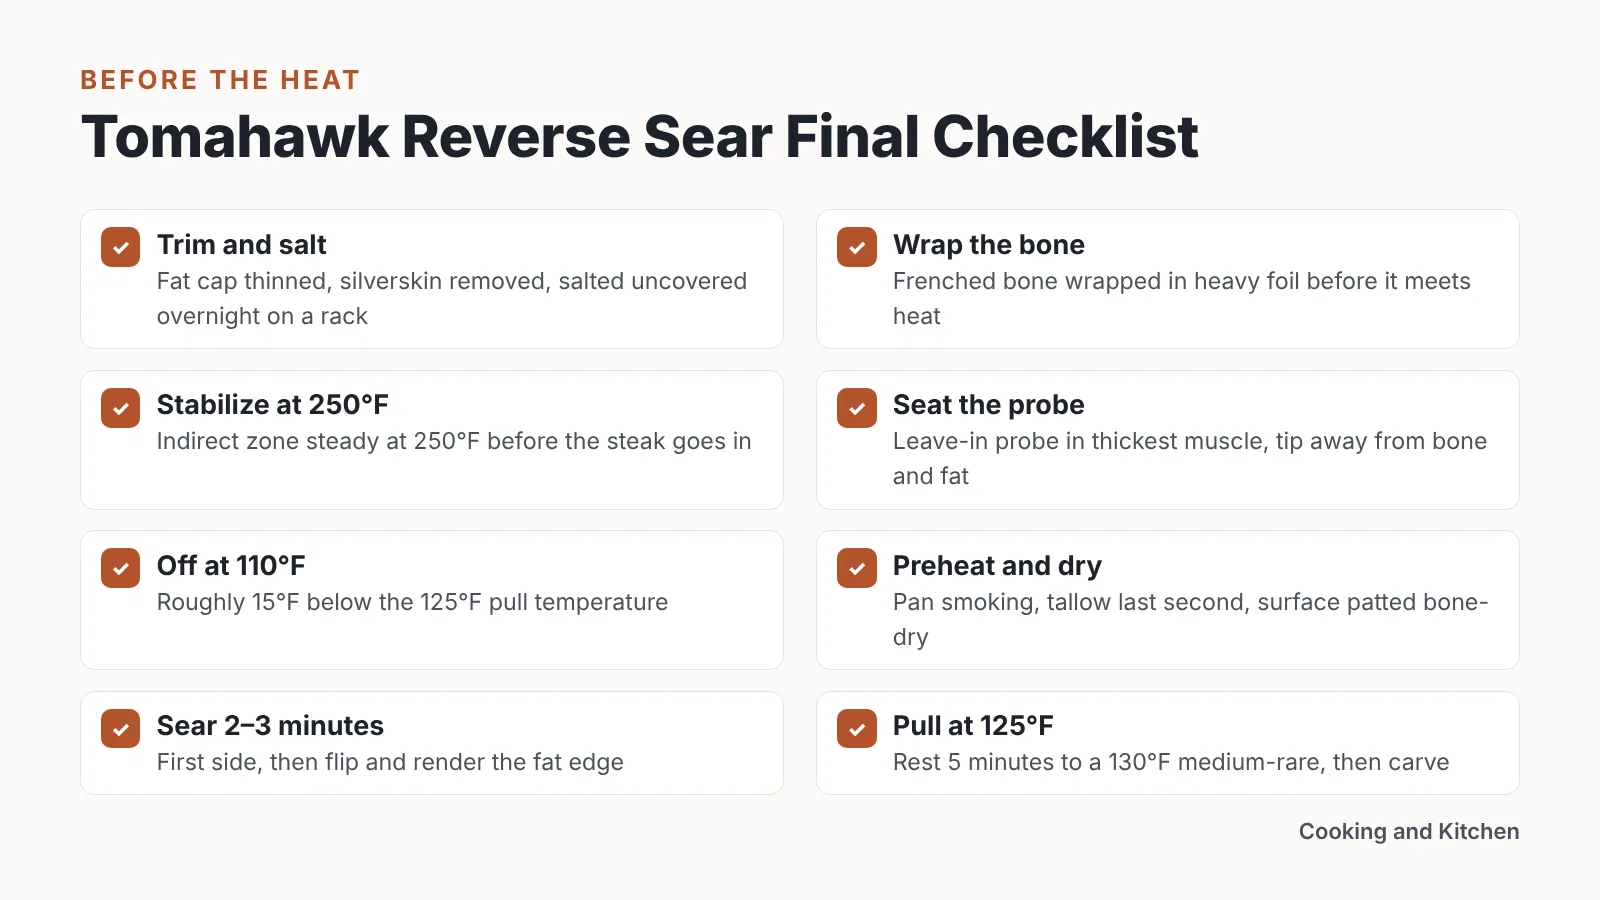
- Fat cap trimmed to a thin layer, silverskin and ragged edges removed
- Salted on all sides and left uncovered on a rack in the fridge overnight
- Frenched bone wrapped in heavy foil
- Indirect zone stabilized at 250°F before the steak goes in
- Leave-in probe seated in the thickest muscle, tip away from bone and fat
- Off the low heat at about 110°F, roughly 15°F below the 125°F pull temperature
- Cast iron or grate preheated until it smokes, tallow added at the last second
- Surface patted bone-dry immediately before searing
- Seared 2–3 minutes on the first side, then flipped and edged
- Temped during the sear and pulled at 125°F for medium-rare
- Rested 5 minutes to a 130°F finish, carved along the bone, sliced across the grain
One last habit worth building: write down your pull temperature and what the slice looked like. Two or three steaks in, you will know exactly how your oven and your pan behave, and the guesswork disappears.
Frequently asked questions
Can you reverse sear a tomahawk steak entirely indoors?
Yes. Run the low stage on a rack in a 250°F oven, which is the indirect temperature ThermoWorks recommends for an even tomahawk, then finish in a preheated cast iron skillet on the stovetop with tallow. Ventilate hard, because the sear smokes heavily.
What internal temperature should a tomahawk steak reach?
End the low-temperature stage about 15°F (8°C) below your pull temperature — near 110°F — then sear. ThermoWorks says to pull a tomahawk at 125°F (52°C) for a final medium-rare of 130°F (54°C) after a 5-minute rest. USDA FSIS separately advises a minimum internal temperature of 145 °F for all raw beef steaks, chops and roasts measured with a food thermometer.
How long does a tomahawk steak take to cook?
Long enough that a clock is useless as a guide. ThermoWorks notes a tomahawk is a steak over two inches thick, so cook to temperature with a leave-in probe and expect the low stage alone to run past an hour depending on thickness and starting temperature.
Do you really need to rest a tomahawk after searing?
Yes, and the rest is short. USDA FSIS advises letting meat rest at least three minutes before carving or eating for safety and quality, while ThermoWorks recommends resting a seared tomahawk 5 minutes before slicing — the stretch that takes a 125°F pull to a 130°F medium-rare. Leave it uncovered so the crust stays crisp.
Is a tomahawk worth the money compared to ordering one out?
ThermoWorks argues a tomahawk is worth cooking at home rather than ordering out, citing a 300% restaurant markup on ingredients for what is largely presentation bone weight. At home you control doneness, seasoning time and the sear, and the leftover bone is yours.
Sources
- What is a safe internal temperature for cooking meat and poultry? | USDA FSIS Ask
- Doneness Versus Safety | Food Safety and Inspection Service (USDA)
- Cooking Meat: Is It Done Yet? | USDA
- Tips for Perfect Grilled Tomahawk Steaks | ThermoWorks
- Grilled Rib Eye Steak: Reverse Sear and Thermal Principles | ThermoWorks
AI tools helped write this guide. The Cooking and Kitchen Editorial Team published it after checking every figure against the sources linked above.
Related articles

Cooking and Kitchen Editorial Team
Articles on Cooking and Kitchen are written by the editorial team with AI assistance and checked against the cited sources.

You May Also Like
How to Cook Oyster Mushrooms So They Crisp, Not Steam
How to Use a Kitchen Scale for Accurate Baking