How to Remove Grease From Kitchen Cabinets Safely
Here’s how to remove grease from kitchen cabinets without wrecking the finish: dust dry, then wipe with warm water and a few drops of mild dish soap, soften sticky spots with a damp cloth, rinse, and dry immediately.
Quick steps
- Spot-test your cleaner on a hidden spot — inside the bottom door nearest the trash pull-out — and wait a few minutes.
- Dry-dust every door, frame and handle with a microfiber cloth so you aren’t smearing dust into grease.
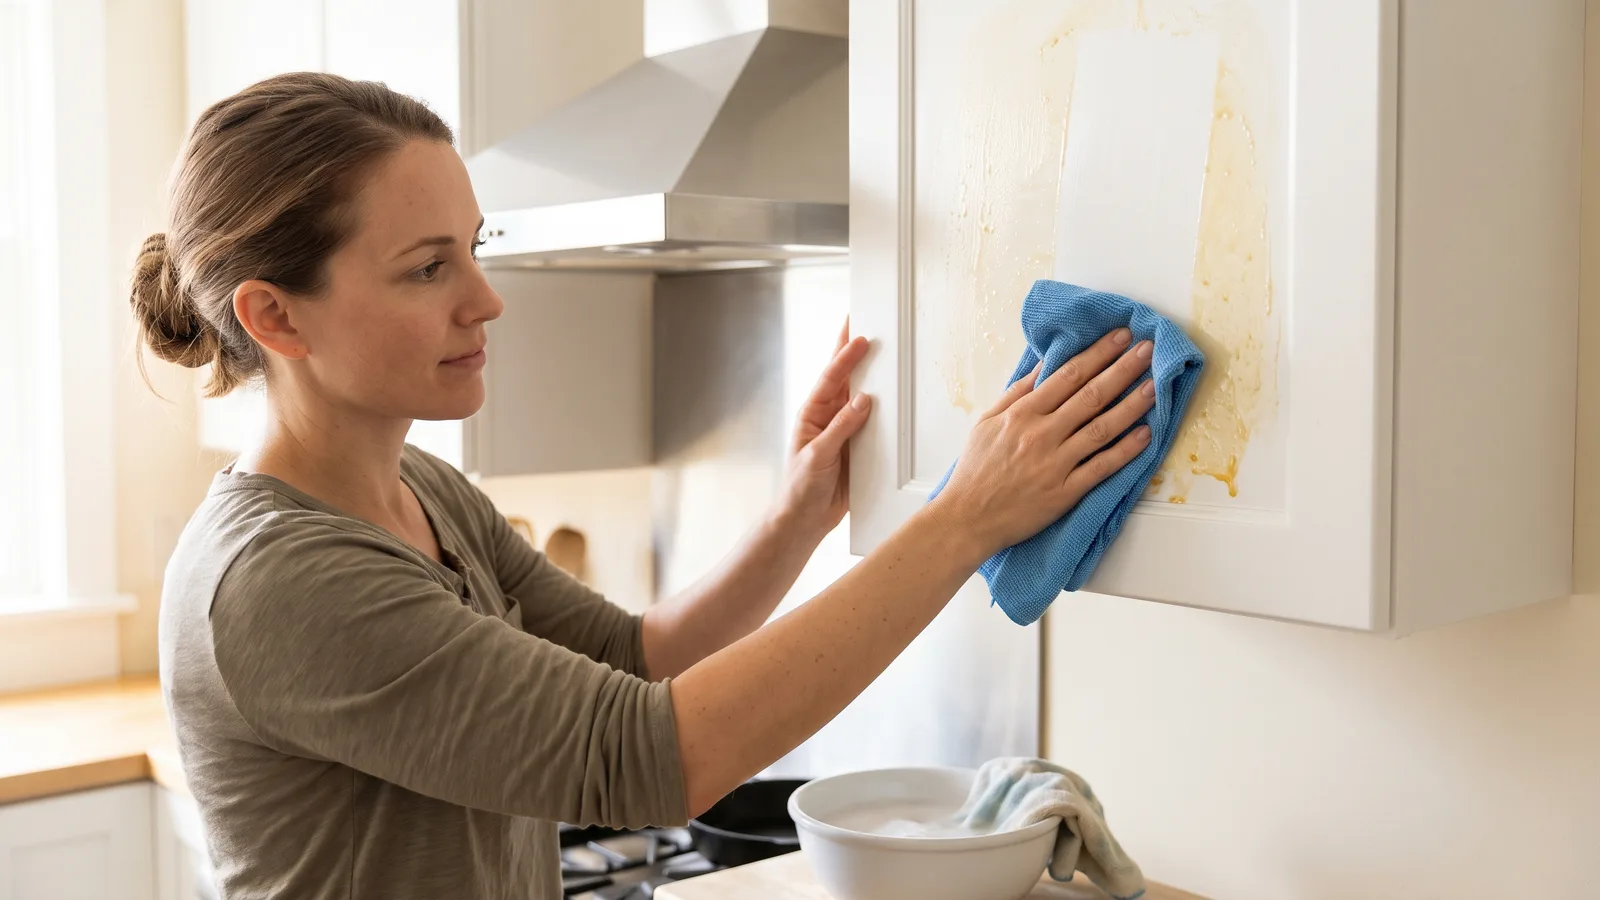
- Wash top to bottom with warm water and a few drops of mild dish soap, using a cloth wrung out almost dry.
- Soften baked-on sticky patches with a warm damp cloth held against them, then wipe with the wood grain.
- Rinse with a second clean damp cloth and dry each door right away with a soft towel.
That sequence works on painted, stained, thermofoil and laminate doors because it starts with the weakest thing in your cupboard and only escalates if the film survives. Most kitchen grease is cooking oil aerosol plus dust, and warm soapy water dissolves it.
Set aside about two hours for a standard galley kitchen, more if the doors above the range haven’t been washed in a year. Work one wall at a time. Each detailed section below covers one part of the job, including the mistakes that turn a cleaning afternoon into a refinishing bill.
Why cabinet grease turns sticky — and what actually ruins the finish
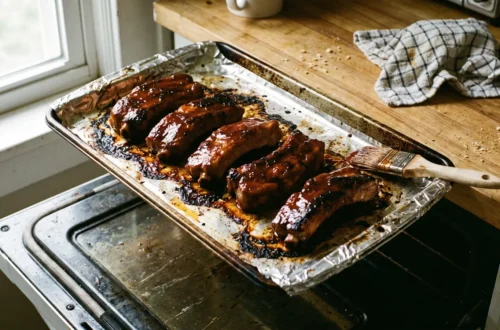
Every time you pan-fry, a fine mist of cooking oil rises, drifts and lands. The doors above and beside your range catch the most of it. Oil alone would stay slick, but it collects airborne dust, flour and smoke particles, and it oxidizes over weeks into a tacky amber varnish that your fingers stick to.
Heat accelerates all of it. Cabinet faces directly over a cooktop run warmer than the rest of the room, so the film there polymerizes faster and clings harder. That’s why one door feels gummy while the door two feet away just feels dusty.
The finish is the part you can actually destroy. Painted and stained cabinets wear a thin clear topcoat; thermofoil doors are vinyl heat-pressed onto MDF. Abrasives sand that topcoat dull, solvents soften it, and standing water creeps into seams and lifts thermofoil at the edges.
Aristokraft’s cabinet care and maintenance guide instructs owners to use the mildest cleaning solution that works, warning that stronger products can damage or discolor the cabinet finish. Treat that as the rule for the whole job. If grease is a recurring problem over your cooktop, better ventilation helps more than better cleaner — see this ranked guide to upgrading kitchen appliances.
Your gentle-first grease kit: the checklist before you start
You don’t need a specialty product. You need two buckets, several cloths and the discipline to stop escalating once the grease comes off.
- Two microfiber cloths minimum — one for washing, one for rinsing, plus a dry towel.
- Mild liquid dish soap — a few drops in warm water, not a sudsy pot-soaking strength.
- A soft-bristle toothbrush for carved detail, bead molding and around knobs.
- Wooden or plastic skewers to clear gunk from corner joints without gouging.
- A small bowl of plain warm water kept clean for rinsing.
- Painter’s tape and a drop cloth if your countertops are porous stone.
Skip the steel wool, scouring powder, melamine pads and ammonia-based glass cleaner. Those are the four items most likely to show up in a repair story.
KraftMaid specifies an emulsion-type cleaner — it names Murphy Original Oil Soap — that contains no wax, petroleum solvents or silicones for cleaning wood cabinet surfaces. Murphy Oil Soap is sold as a concentrate and the manufacturer’s recommended dilution is 1/4 cup per gallon of water. Mix it in a bucket, never pour it straight onto a door.
Wring every cloth until it feels barely damp. Dripping water running down a stile and sitting in the seam is how edges swell.
Step 1 — Identify your cabinet finish and spot-test in a hidden place
Time: 10 minutes. You need: your chosen cleaner, one damp cloth, one dry cloth.
Open a door and look at the inside edge. Painted wood shows brush or spray texture and a visible grain under color; stained wood shows grain through a clear topcoat; thermofoil looks perfectly uniform with a seam line near the back edge; laminate feels like a printed sheet with a hard, flat surface.
Thermofoil and laminate tolerate soapy water well but hate heat and standing moisture at the seams. Painted doors — especially factory-sprayed white — can burnish to a shiny patch if you rub hard in one place. Stained and clear-coated wood is the most sensitive to solvents.
Pick your test spot inside the lowest door, on the face, near the bottom hinge. Nobody looks there. Dab your cleaner, wait about five minutes, wipe, dry and then look at the spot from an angle under light.
You’re checking three things: color lifting onto the cloth, a dulled or glossier patch, and any softness when you press a fingernail nearby. Any of those means stop and go back to plain warm water. Doors that already look tired after cleaning may be candidates for a refresh of dated oak cabinet doors rather than more scrubbing.
Step 2 — Dry-dust the doors, frames and handles first
Time: 15–20 minutes. You need: a dry microfiber cloth, a vacuum brush attachment, a soft toothbrush.
Wet cloth on dusty grease makes gray smear. Dust first, always.
Start at the crown molding and work down. Run the vacuum brush along the top edges of upper cabinets, where a felt of dust and oil builds up out of sight. Then take a dry microfiber cloth over every flat face, moving in one direction instead of circles.
Give handles and knobs their own pass. Pull hardware edges collect finger grease plus the dust that sticks to it, and a dry toothbrush lifts most of it out of knurling and screw heads before any water is involved.
Pay attention to the toe kick and the bottom two inches of base cabinets. That strip gets splashes, not aerosol, so it responds to a different kind of wiping later.
What you remove dry is grit you won’t drag across a finish wet. On doors near the range you may see the cloth turn yellow-brown immediately — that’s oxidized oil already coming off, and it means the wash step has less work to do.
Step 3 — Wash with warm water and mild dish soap, top to bottom
Time: 45–60 minutes for a full kitchen. You need: warm water, mild dish soap, two cloths.
KraftMaid, a major US cabinet manufacturer, tells owners to cut tougher grease on cabinet faces with a gentle cleaning agent such as a mild liquid dish soap rather than a strong cleaner. A few drops in a bowl of warm water is the right strength — if it foams like a sink full of dishes, add more water.
Wring the cloth until no water drips when you squeeze it. Wipe one door at a time, following the grain on wood and the long dimension on painted panels.
Go top to bottom across the room so drips land on surfaces you haven’t finished yet. Upper cabinets first, then the range hood surround, then base cabinets, then the toe kick last since it’s the dirtiest.
Refresh your water the moment it looks cloudy. Dirty water redeposits grease in a thin even layer that dries tacky, and you’ll feel it the next time you open a drawer.
Use the toothbrush dipped in the same soapy water for raised panel corners, routed edges and the gap around hinge cups. Keep tools you reach for daily easy to wipe down too — this guide to picking a set of kitchen utensils that cleans up easily is a reasonable companion read.
Step 4 — Soften baked-on sticky spots instead of scrubbing them
Time: 5–10 minutes per stubborn patch. You need: a warm damp cloth, patience, optionally a diluted degreaser.
Scrubbing is what removes finish. Dwell time is what removes grease.
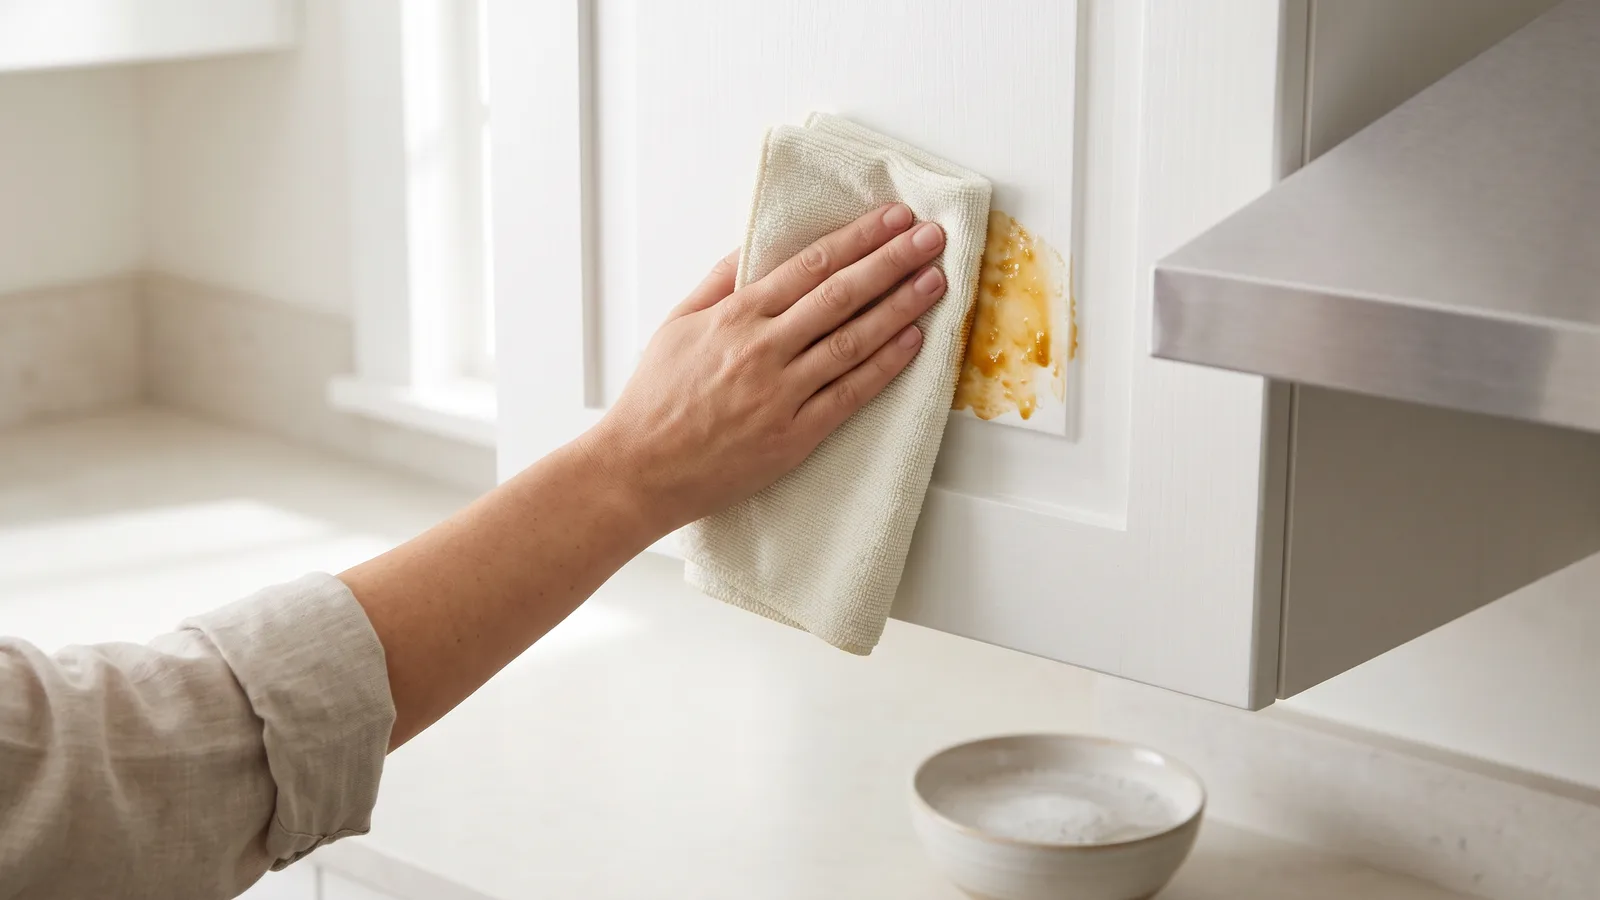
Fold a cloth into a pad, wet it with warm soapy water, wring it, and press it flat against the sticky patch. Leave it there for three to five minutes while you wash the next door. The warmth and moisture soften the oxidized film so it wipes away with light pressure.
Repeat the soak twice before you consider anything stronger. Two gentle soaks beat one hard scrub every time.
If a patch over the range still resists, step up carefully. Simple Green defines its 1:10 cleaning dilution as roughly 1 oz. of concentrate per cup of water. Simple Green All-Purpose Cleaner is EPA Safer Choice certified, which is useful if you want a degreaser vetted for safer ingredients — apply it to the cloth, never spray it directly onto a door, and rinse the area immediately after.
Spot-test any stepped-up product in the same hidden place you used in Step 1. A cleaner that’s fine on painted MDF can dull a clear-coated oak door.
Step 5 — Rinse with a clean damp cloth and dry immediately
Time: 20 minutes. You need: clean water, a rinse cloth, a dry soft towel.
Soap residue left on a door attracts dust within days and dries to a faint streaky haze. Rinsing is not optional.
KraftMaid’s official care-and-cleaning guidance for wood and premium veneer cabinets is to remove grease with a cloth dampened in mild soap and water, then rinse and dry thoroughly. Follow that order exactly: wash, rinse, dry.
Use a second cloth in plain warm water, wrung out hard, and go over each door once. Change the rinse water for each wall section.
Dry each door right away rather than letting it air-dry. Air-drying leaves mineral spots on dark finishes and gives water time to find the seams on thermofoil and the end grain on solid wood.
Pay extra attention to three places: the bottom edge of upper doors, the joint where a raised panel meets its frame, and under the hardware. Those hold water longest.
Check your work from a low angle with a light behind you. Any remaining dull patch is usually residue, and one more plain-water pass fixes it.
Common mistakes that strip cabinet finishes (and what repairs cost)
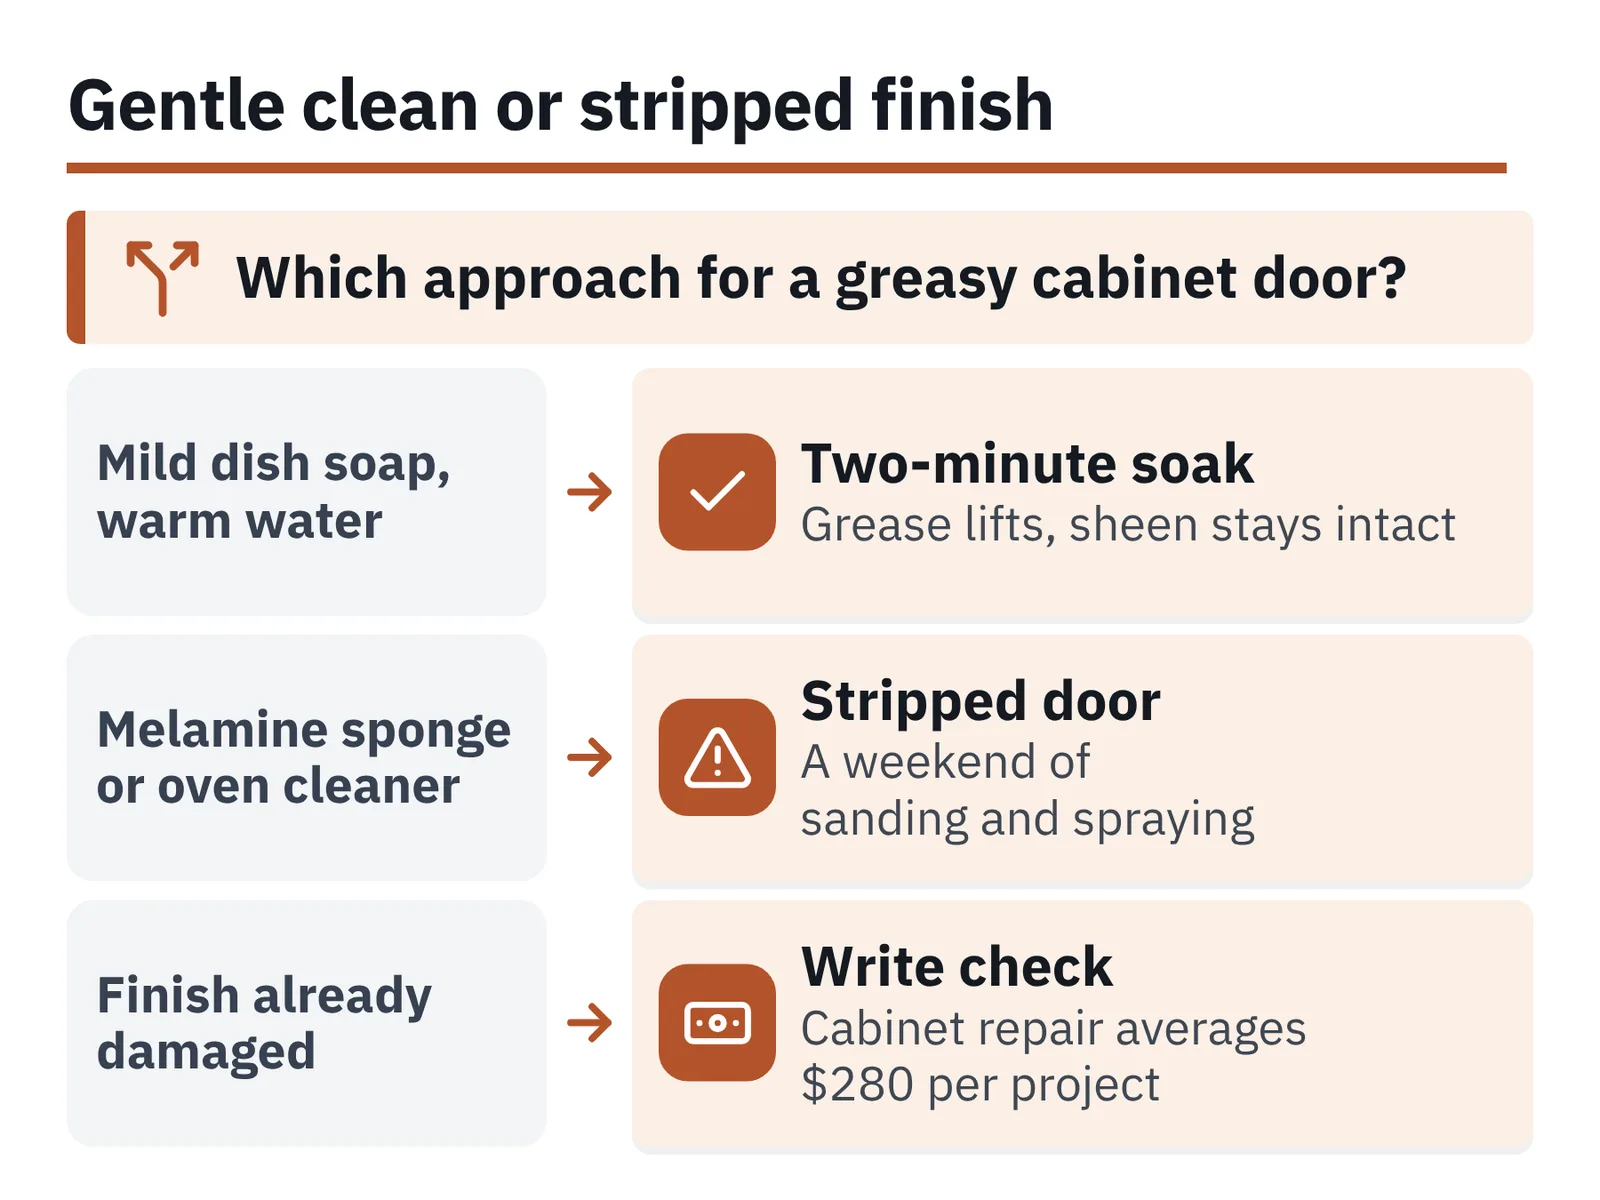
The failure that shows up most often is reaching for a melamine sponge on a glossy white door. Procter & Gamble’s own safety information for Mr. Clean Magic Eraser says the melamine pads are not recommended for high-gloss, polished, satin or bare/polished wood surfaces — which covers most cabinet doors. The pad works by micro-abrasion, so the grease leaves and so does the sheen, in a dull rectangle you cannot buff back.
Other common errors:
| Mistake | What it does | Do this instead |
|---|---|---|
| Ammonia glass cleaner | Clouds and softens clear topcoats | Mild dish soap in warm water |
| Spraying cleaner on the door | Runs into seams, swells MDF cores | Spray the cloth, not the cabinet |
| Scrubbing in circles | Burnishes shiny patches into flat paint | Straight passes, with the grain |
| Letting doors air-dry | Water spots and lifted thermofoil edges | Dry with a towel immediately |
| Oven cleaner on cabinet faces | Strips finish and raises wood grain | Soak the spot with a warm damp cloth |
The repair math argues for caution. Refinishing cabinets after finish damage costs roughly $4 to $25 per square foot, according to Angi’s 2026 cost data. Angi puts the 2026 national average cost of a professional cabinet repair at $280 per project.
One gummy door is a two-minute soak. One stripped door is a weekend of sanding and spraying, or a check.
Your final checklist
Run this before you put the buckets away:
- ☐ Spot-tested the cleaner inside a low door and checked it under angled light
- ☐ Dry-dusted tops, faces, hardware and toe kicks before any water
- ☐ Washed top to bottom with a cloth wrung nearly dry
- ☐ Changed the wash water as soon as it turned cloudy
- ☐ Soaked sticky patches twice instead of scrubbing once
- ☐ Rinsed every door with plain water on a second cloth
- ☐ Dried each door by hand, including bottom edges and under handles
- ☐ Wiped hinges and the inside lip where the door closes
The one failure to avoid: escalating to a stronger product on the first stubborn spot. Grease that survived soapy water usually needs more dwell time, not more chemistry, and every step up in strength raises the odds of a dulled patch. Soak, wait, wipe — then reassess.
After the deep clean, a quick wipe of the doors flanking your range once a week keeps the film from ever hardening again. Do it while something simmers, like a batch from your weekly meal prep routine, and it costs you ninety seconds.
Frequently asked questions
Can I use vinegar to remove grease from kitchen cabinets?
Diluted vinegar cuts light film, but it’s acidic and can dull clear topcoats on stained wood. Aristokraft’s cabinet care guide instructs owners to use the mildest cleaning solution that works, warning stronger products can damage or discolor the finish — so start with warm water and mild dish soap, and spot-test vinegar inside a low door first.
Is a Magic Eraser safe on greasy cabinet doors?
No, not on most of them. Procter & Gamble’s safety information for Mr. Clean Magic Eraser says the melamine pads are not recommended for high-gloss, polished, satin or bare/polished wood surfaces, which describes nearly every cabinet door. The pad abrades grease away and takes sheen with it, leaving a dull patch you can’t buff out.
How do I mix Murphy Oil Soap for cabinets?
Murphy Oil Soap is sold as a concentrate and the manufacturer’s recommended dilution is 1/4 cup per gallon of water. KraftMaid specifies an emulsion-type cleaner — naming Murphy Original Oil Soap — containing no wax, petroleum solvents or silicones for wood cabinet surfaces. Mix it in a bucket, apply with a wrung-out cloth, then rinse and dry.
Will a degreaser like Simple Green damage my cabinets?
Use it diluted and only after soapy water fails. Simple Green defines its 1:10 cleaning dilution as roughly 1 oz. of concentrate per cup of water, and Simple Green All-Purpose Cleaner is EPA Safer Choice certified. Apply it to the cloth rather than the door, rinse the area right away, and spot-test in a hidden place first.
How often should I clean grease off kitchen cabinets?
Wipe the doors flanking your range weekly with a barely damp cloth, and do a full top-to-bottom wash two or three times a year. Oxidized cooking oil hardens over weeks, so frequent light wiping keeps you from ever needing an aggressive cleaner on a sensitive finish.
Sources
- KraftMaid FAQs: Cabinet Help, Remodel & Replacement Info
- Care and Cleaning — KraftMaid Full Access
- Care and Cleaning — KraftMaid Cabinetry
- Aristokraft Cabinetry — Cabinet Care & Maintenance Guide (PDF)
- Oil Soap Safety: A User’s Guide — Murphy Oil Soap
- Mr. Clean Magic Eraser Extra Durable Scrubber — product safety information
- FAQs: Dilutions — Simple Green
- Simple Green All-Purpose Cleaner
- How Much Does It Cost to Refinish Cabinets? [2026 Data] — Angi
- How Much Does Cabinet Repair Cost? [2026 Data] — Angi
AI tools helped write this guide. The Cooking and Kitchen Editorial Team published it after checking every figure against the sources linked above.
Related articles

Cooking and Kitchen Editorial Team
Articles on Cooking and Kitchen are written by the editorial team with AI assistance and checked against the cited sources.


You May Also Like

How to Make Oak Kitchen Cabinets Look Modern

Meal Prep Ideas for the Week That Last to Friday