How to Clean Kitchen Appliances, Step by Step
The safe route for how to clean kitchen appliances is appliance-specific: heat or steam for the oven, steam plus mild detergent for the microwave, soapy water for the fridge, and a filter wash plus cleaner cycle for the dishwasher.
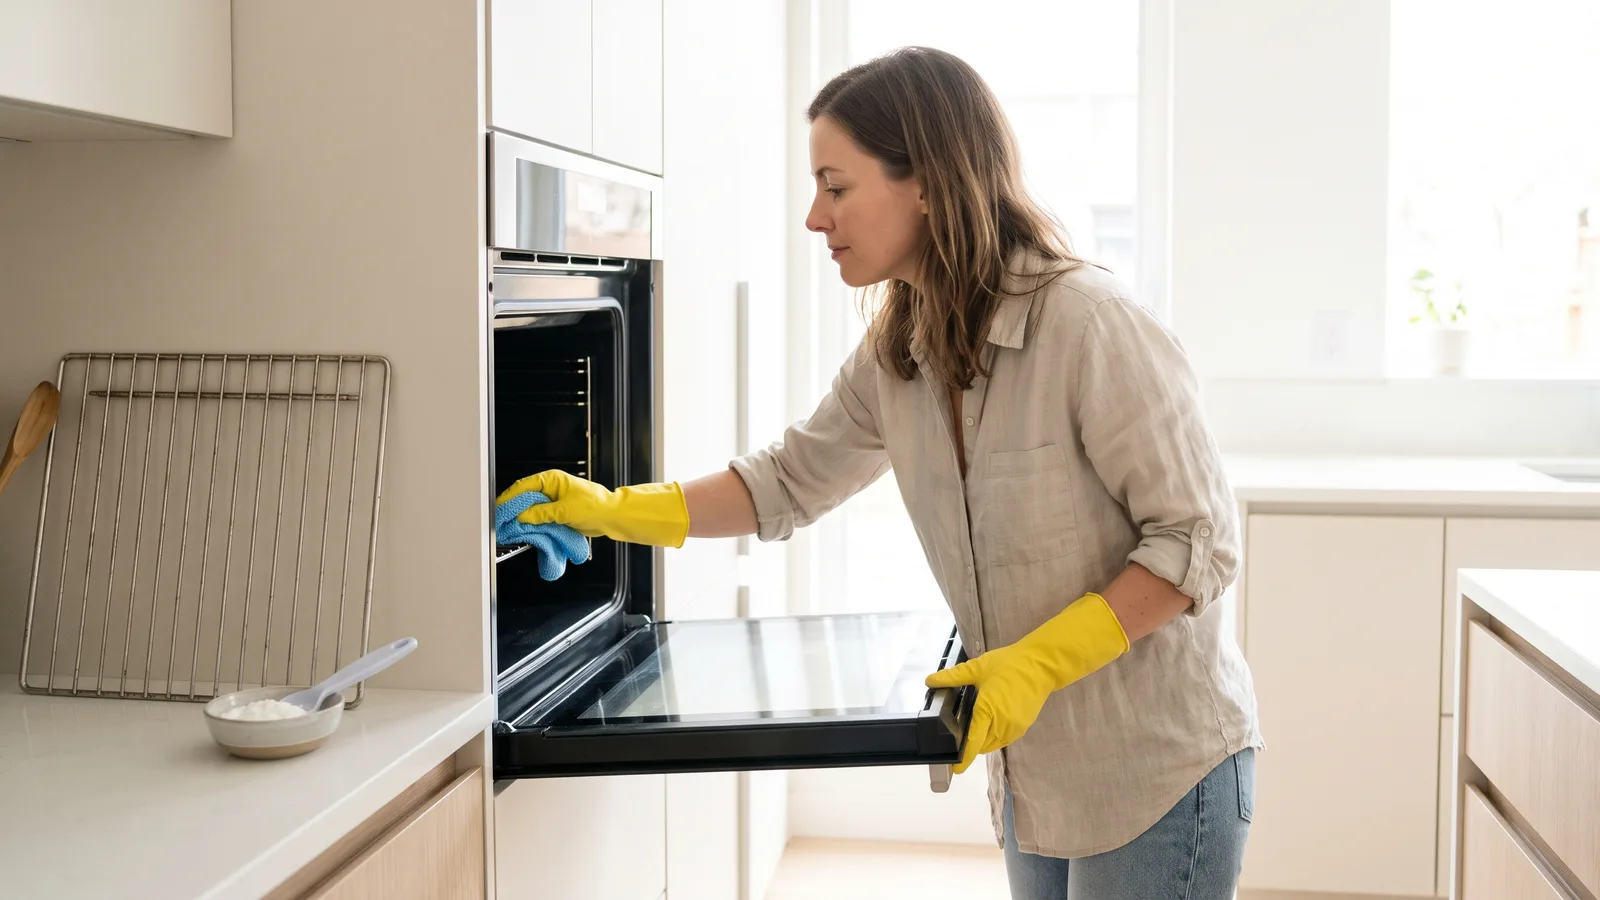
Quick steps for a safe appliance deep clean
- Empty the oven cavity completely, then start self-clean or steam clean.
- Steam the microwave with a bowl of water, then wipe the cavity, outer edge and door.
- Move fridge food to a cooler, wash shelves and bins, dry them, reload.
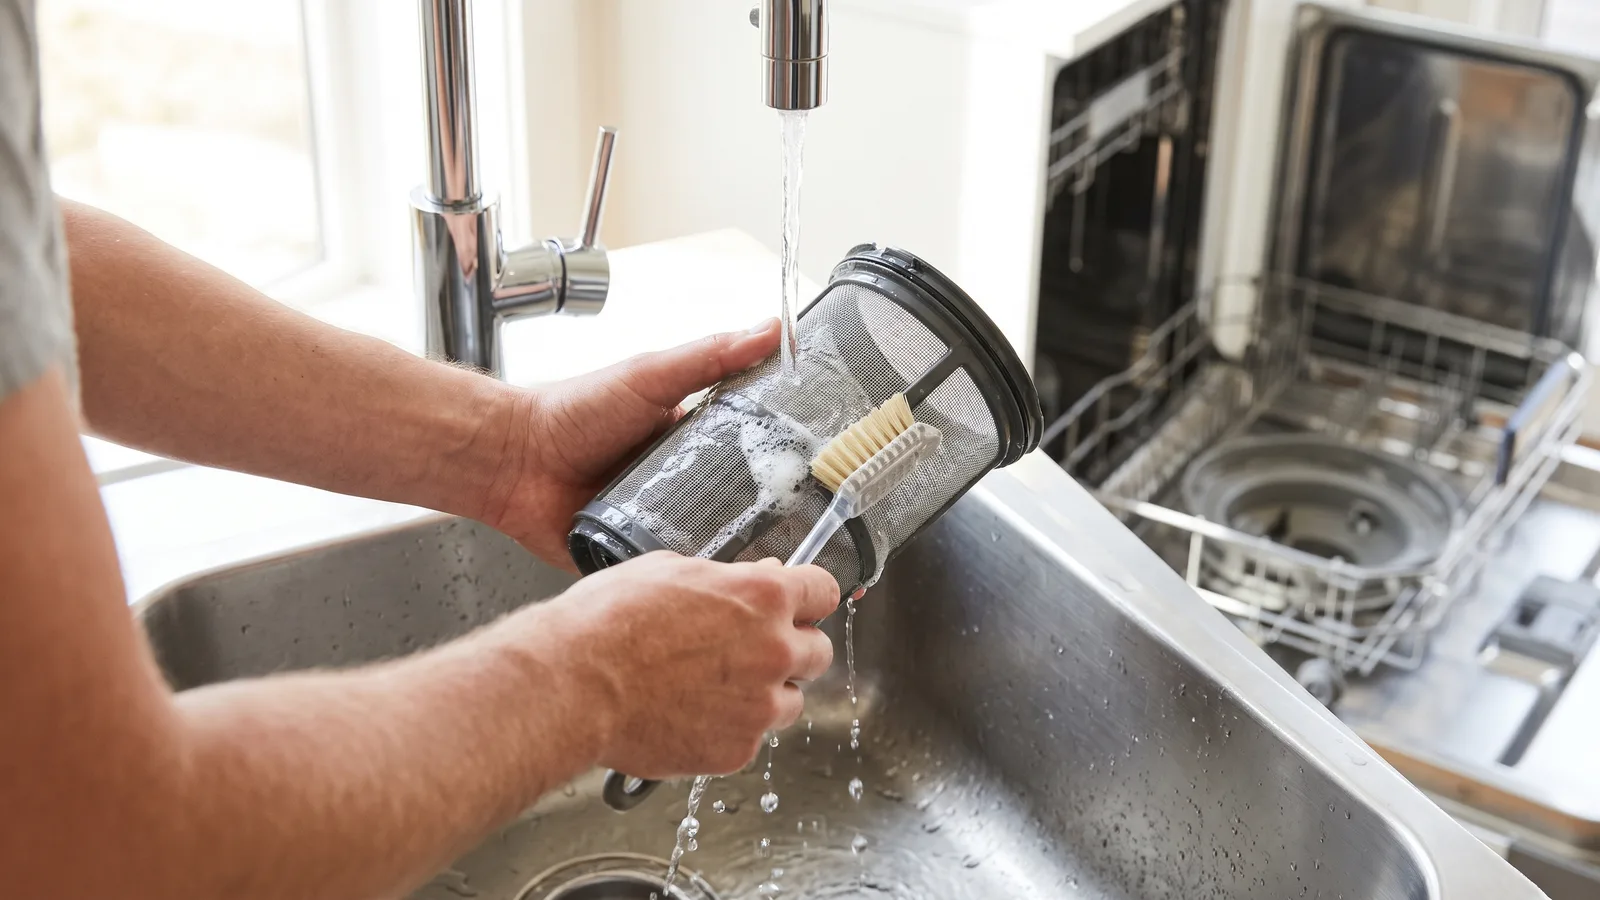
- Pull the dishwasher filter, rinse it, wipe the door seal, run a cleaner cycle.
- Verify each appliance with a quick test before you call the job done.
Timing decides how smoothly this goes. GE Appliances says a self-clean cycle runs from one and a half to three hours depending on how dirty the oven is, so it belongs at the start of a free morning, not an hour before dinner.
Work one appliance at a time and keep the cleaners separate. Mixing products in a small, warm cavity is how people end up with fumes they did not plan for, and most of this work needs nothing stronger than dish soap, baking soda and hot water.
Set out supplies before you touch anything: microfiber cloths, a soft brush, a plastic scraper, baking soda, white vinegar, dish soap, gloves and an appliance thermometer. Laying out tools first is the same discipline behind a prep routine that keeps counters clear while you cook. You will not stop mid-job to hunt for a brush.
What to decide first: method, settings and limits for each appliance
| Appliance | Default method | Take out first | Keep away from it | Verify after |
|---|---|---|---|---|
| Oven | Self-clean or steam clean, per the manual | Probes, foil, silicone liners, cookware; racks unless labeled "no scrub" or "self-clean" (GE Appliances) | Aerosol oven cleaner on self-clean coatings; cleaner on the door gasket | Clean preheat with no smoke; racks slide freely |
| Microwave | Steam, then water and mild detergent (FDA) | Turntable and roller ring | Abrasive pads, scouring powder, harsh chemicals | Door closes flush; seal smooth and unbroken |
| Fridge | Warm soapy water, then a baking-soda rinse | All food, into a cooler with ice | Scouring powder on plastic liners; hot water on cold glass shelves | 40 °F or below (USDA FSIS) |
| Dishwasher | Filter wash, then a cleaner cycle | Filter, bottom rack, debris near the drain | Steel wool on the filter mesh; bleach cleaners in stainless tubs | Water drains fully; no grit under the lower rack |
Your manual outranks any general advice, because the coating inside a self-clean oven is not the same surface as a wipe-clean enamel cavity. Check the label on the oven racks before you decide whether they stay in or come out.
Ventilation is a decision, not an afterthought. Open a window and run the range hood during a high-heat oven cycle, and move pet birds to another room, since they are unusually sensitive to fumes from overheated surfaces.
Age matters too. If a door gasket is torn, a dishwasher never drains, or an oven no longer holds temperature, cleaning will not fix it — that is a repair call, or the start of a ranked plan for replacing older appliances.
Step 1 — Deep clean the oven: self-clean, steam clean or baking-soda paste
You need gloves, a plastic scraper, baking soda, white vinegar in a spray bottle, and two or three microfiber cloths. Pick one of the three routes below rather than stacking them.
GE Appliances says a self-clean cycle heats the oven to about 880 degrees Fahrenheit (471 °C) to reduce food soil to ash. Plan around the clock as well: the same GE page gives a range of one and a half to three hours for the cycle, depending on the soil level, and the oven is out of use until it cools. Before starting that cycle, GE instructs owners to take everything out of the oven cavity, including probes, foil, silicone liners and cookware, and to remove racks unless they are labeled "no scrub" or "self-clean". When the oven has cooled completely, sweep the ash out with a damp cloth.
The gentler route suits lighter soil. GE’s lower-heat alternative, Steam Clean, uses 1 cup of water poured into a cool oven and runs about 30 minutes, after which you wipe out the loosened soil.
No cycle at all? Mix baking soda with water into a spreadable paste, coat the interior while avoiding the heating elements and fan openings, and leave it overnight. Scrape the softened soil off, spritz with vinegar, then wipe until the cloth comes away clean. The same patient, gentle-first order works on cooked-on grease above the range. Soak racks in a tub lined with a towel and hot soapy water.
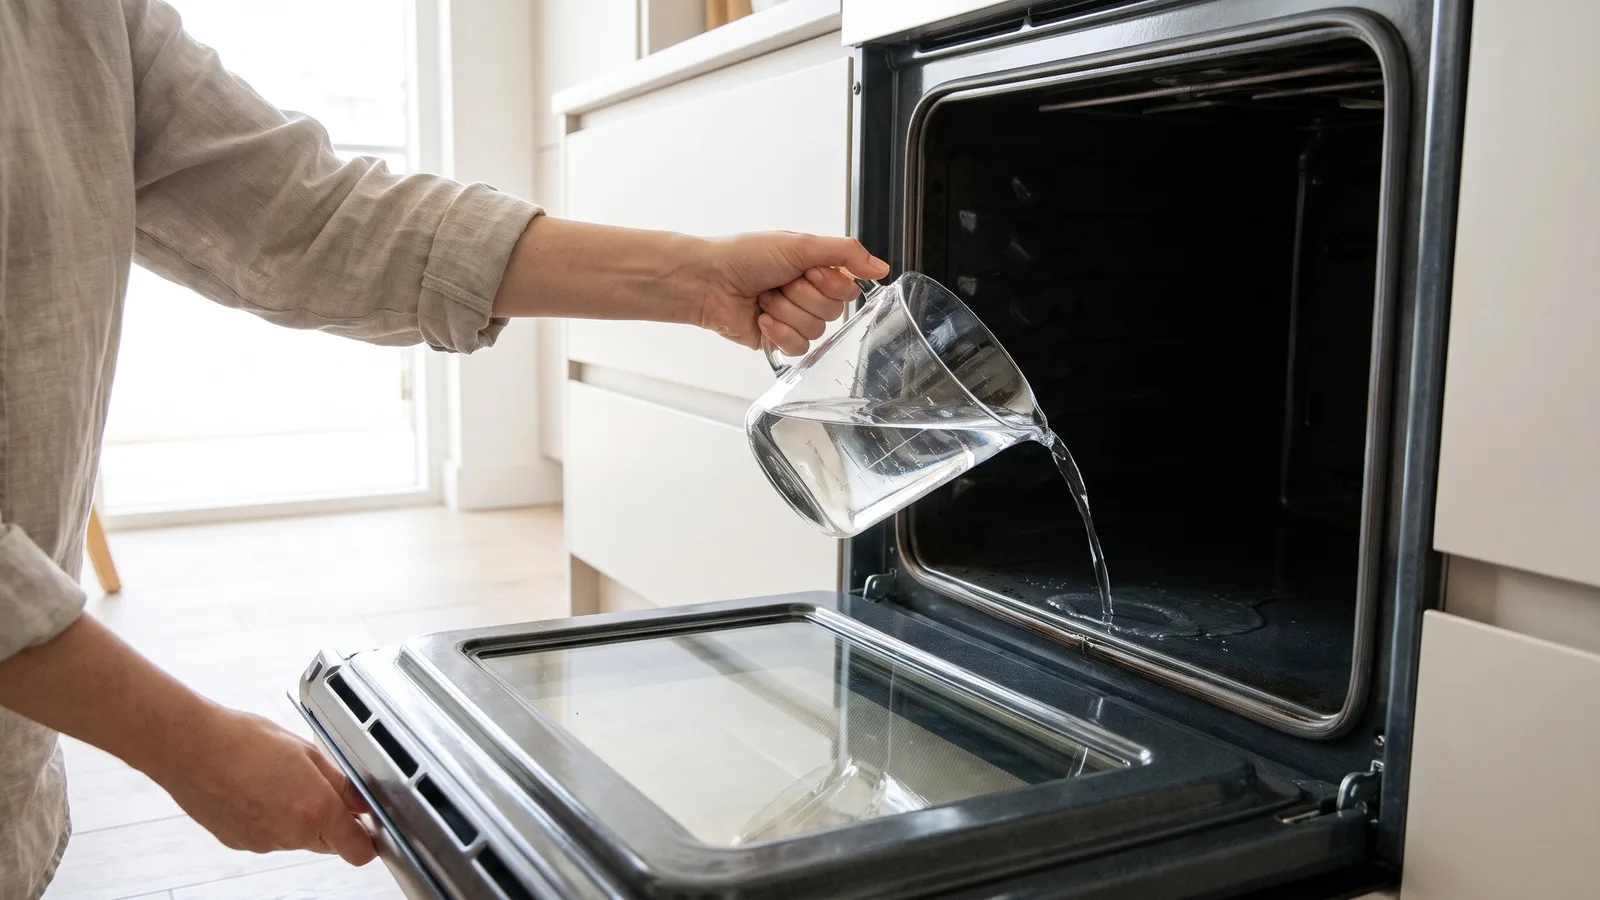
Step 2 — Deep clean the microwave with steam, then the door, edge and seal
Put a microwave-safe bowl of water with a few lemon slices or a splash of vinegar inside, and heat it until the window fogs. Leave the door shut for a few minutes so the steam softens the splatter.
Wipe the ceiling first, then the walls, then the floor, and wash the turntable and roller ring in the sink. The FDA’s official microwave guidance is to clean the cavity, the outer edge of the cavity and the door regularly with water and a mild detergent — no harsh chemicals or abrasives.
The door deserves its own pass. Wipe both faces of the glass, the latch area and the flat sealing surface where the door meets the frame, using a damp cloth rather than anything that scratches.
Damage there is a safety issue, not a cosmetic one. The Oregon Health Authority notes that microwaves made after October 1971 must meet an FDA leakage limit of 5 milliwatts per square centimeter measured about 2 inches from the oven surface, which is why a crusted or damaged door seal matters when you clean. If the door is bent, the latch is loose or the seal is cracked, stop using the oven and have it serviced. Over-the-range models also have a grease filter underneath that lifts out for a soak in hot soapy water.
Step 3 — Deep clean the fridge and get it back to 40 °F or below
Do this the day before a grocery run, when the shelves are at their emptiest. Load everything perishable into a cooler with ice packs so nothing sits out while you work.
Take out shelves, drawers and door bins. Let glass shelves come up to room temperature on a towel before they meet hot water, because cold glass can crack from the shock. Wash everything in warm soapy water, rinse, and dry it fully.
Wipe the interior walls with soapy water, then go over them with a baking-soda solution to pull out lingering odors. Run a soft brush or toothbrush along the door gasket folds, where crumbs and mold hide, and dry the gasket afterward. Vacuum the condenser coils at the back or under the kickplate with a brush attachment.
USDA Food Safety and Inspection Service says the refrigerator should run at 40 °F or below and the freezer at 0 °F or below, so reload only after the door has been closed long enough to pull the temperature back down. Group leftovers and batch meals meant to last through Friday on one shelf where you will actually see them.
Step 4 — Deep clean the dishwasher: filter, spray arms, seals and a cleaner cycle
Pull the bottom rack out and look at the floor of the tub. Most modern machines have a cylindrical filter that twists out, sitting in a coarse screen.
Bosch tells owners to clean the dishwasher filter every few months under running water with soap and a soft brush, because trapped food can seriously damage the filter and pump. Rinse the coarse screen too, and fish out any glass chips, seeds or labels near the drain before they travel.
Unclip the spray arms if your model allows it. Hold each one up to the light, clear blocked holes with a toothpick, rinse it, and click it back on so it spins freely by hand.
Wipe the door seal and the lip just below the door, which collects a greasy film that no cycle reaches. Clean the detergent dispenser flap so it opens cleanly.
Finish with a cleaner cycle: put a dishwasher cleaning tablet in the empty machine and run it on the hottest setting. Skip bleach-based products if the tub is stainless steel.
Check your work: what to test after each clean and how often to repeat
Verify the fridge with a measurement, not a guess. To check a refrigerator, USDA FSIS says to put an appliance thermometer in a glass of water in the middle of the refrigerator and adjust the control if the reading is not 38 to 40 °F.
For the oven, run a short preheat with the windows open and watch for smoke or a burning smell, which means soil is still sitting on an element or the door gasket got wet. The racks should slide without catching.
For the microwave, heat a cup of water and confirm the door closes flush with no gap. For the dishwasher, run one empty hot cycle, then feel the tub floor for grit and check a glass for cloudy film.
Final checklist
- ☐ Oven cavity bare before any heat cycle, racks handled per their label
- ☐ Oven cooled fully, ash and paste residue wiped out
- ☐ Microwave cavity, outer edge and door wiped with mild detergent only
- ☐ Fridge thermometer sitting in a glass of water, read against the USDA FSIS range
- ☐ Dishwasher filter rinsed and twisted back until it locks
- ☐ Spray arms spin freely; drain area clear of debris
The mistake that costs the most
Spraying aerosol oven cleaner inside a self-clean oven, or onto a door gasket, is the failure that turns a cleaning day into a repair bill. The spray can damage the special interior coating and swell or stain the seal, and a leaking seal makes every later bake slower and less even. Use heat, steam or baking-soda paste inside the cavity, keep every product off gaskets and heating elements, and save sprays for the exterior metal.
A sensible rhythm: wipe the microwave weekly and steam it monthly, rinse the dishwasher filter whenever you notice grit, clear fridge spills as they happen, and deep clean the oven when soil starts to smoke on preheat.
Frequently asked questions
Which chemicals should I keep away from kitchen appliances?
The FDA’s microwave guidance calls for water and a mild detergent — no harsh chemicals or abrasives — and that restraint serves the other three appliances too. Keep aerosol oven cleaner out of self-clean cavities, keep bleach cleaners out of stainless dishwasher tubs, keep scouring powder off plastic fridge liners, and never spray anything directly onto a door gasket or a heating element.
How do I remove a stubborn burnt-on stain in the oven?
Repeat the gentle method rather than reaching for something stronger. Cover the stain with a thick baking-soda paste, leave it overnight, lift the softened soil with a plastic scraper, spritz with white vinegar, then wipe. Two or three rounds beat one aggressive scrub, and a razor-blade scraper held flat works on door glass if your manual allows it.
My fridge still smells after cleaning. What did I miss?
Check the places a wipe-down skips: the gasket folds, the drip pan underneath, the drain hole at the back of the cavity, and the crisper drawer channels. Leave an open container of baking soda inside for a few days, and confirm nothing has leaked under the bottom drawer. If the smell returns fast, the temperature is probably too warm — see the verification test in the check section.
Is it safe to use a microwave with a damaged door seal?
No — stop using it and get it serviced or replaced. The federal leakage limit the Oregon Health Authority cites — 5 milliwatts per square centimeter about 2 inches from the surface, for ovens built after October 1971 — assumes an intact door, latch and seal. A bent door, loose latch or cracked seal undermines the very parts that limit depends on.
How often should I run the oven self-clean cycle?
Treat it as an occasional reset, not a routine, because the cycle takes hours and the oven is unusable until it cools. Plan it for a day you are not cooking, wipe spills as they happen so soil never builds up, and use steam clean or baking-soda paste for ordinary maintenance between those resets.
Sources
- Cleaning Options for Your Gas or Electric Oven — GE Appliances
- Range & Wall Oven – What to Remove Before Self-Cleaning — GE Appliances
- Microwave Ovens — U.S. Food and Drug Administration
- Microwaves — Oregon Health Authority, Radiation Protection Services
- Keep Food Safe! Food Safety Basics — USDA FSIS
- Appliance Thermometers — USDA FSIS
- How to Clean & Descale Bosch Dishwashers: A Complete Guide — Bosch Home Appliances
AI tools helped write this guide. The Cooking and Kitchen Editorial Team published it after checking every figure against the sources linked above.
Related articles

Cooking and Kitchen Editorial Team
Articles on Cooking and Kitchen are written by the editorial team with AI assistance and checked against the cited sources.

You May Also Like

How to Cook Country Style Pork Ribs Tender in the Oven

How to Make Oak Kitchen Cabinets Look Modern