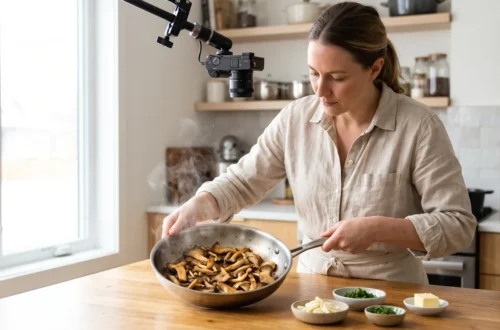
How to Write a Recipe Others Can Actually Cook
To learn how to write a recipe others can follow, cook it once while logging weights, times and pan sizes, then write a header block, ingredients in use order, and numbered single-action steps with doneness cues.
Quick steps: a recipe someone else can cook
A recipe is instructions for a cook who cannot ask you a single question. Write for that person and most of the fussy decisions answer themselves.
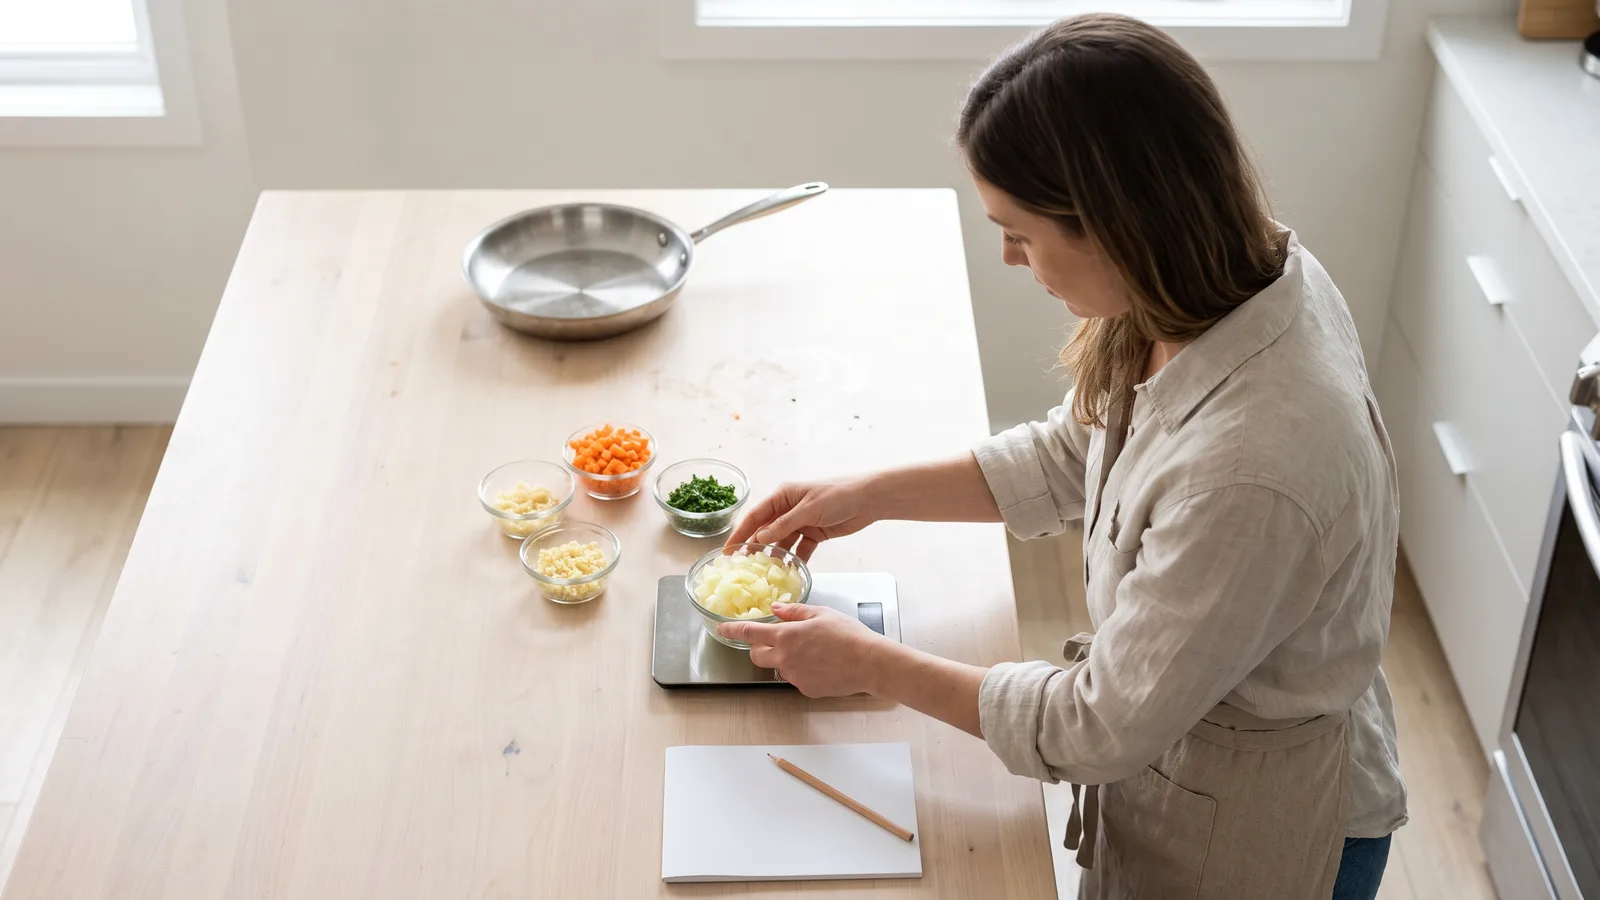
- Cook the dish once with a scale, a timer and a notepad; record every weight, pan size and time.
- Write the header block first — yield, equipment, oven temperature — before you touch the ingredient list.
- List ingredients in the order the method uses them, weight first, prep after the comma.
- Number the method so each step is one action, and attach a sensory cue to every "until".
- Hand the draft to someone who has never cooked it, watch in silence, and fix whatever they get wrong.
Those five actions fit into one cooking session plus one rewrite. The four numbered steps below expand them, and the final section covers the hand-off test, a timing audit and the checks to run before publishing. Video comes last, built from the same numbered method rather than a separate script written from memory.
What to decide first: format, units, yield, temperature and video length
Five choices shape every line you write afterward, and changing them later means rewriting the whole draft. Settle them while the pan is still on the stove.
| Decision | Your options | Choose it when | Watch out for |
|---|---|---|---|
| Format | Structured (header, ingredients, numbered method) or narrative paragraph | Structured for anything with more than three ingredients | Narrative hides steps; cooks lose their place mid-pan |
| Units | Weight only, volume only, or weight with volume in brackets | Weight for baking and anything where ratio matters | "1 cup flour" varies with how you scoop it |
| Yield | Servings, or a count of pieces (cookies, patties, tortillas) | Count when portion size is obvious from the item | A "serving" is undefined unless you state the portion |
| Temperature | °F with °C in brackets, plus a visual doneness cue | Always, if readers outside the US may cook it | Fan/convection ovens usually need a lower set temperature or a shorter time |
| Video length and shape | Vertical short-form, or horizontal long-form | Our editorial rule of thumb: vertical when the dish has four or fewer real steps | Shape and length are platform rules, not style choices |
YouTube Help states that square or vertical videos up to three minutes long that were uploaded on or after October 15, 2024 are categorized as Shorts on YouTube. That single rule decides your camera orientation before you cook. Lock the units at the same moment, because converting a finished recipe from cups to grams invites arithmetic errors nobody catches.
Step 1 — Cook the dish and log weights, times, pan sizes and doneness cues
What you need: a digital scale, an instant-read thermometer, a timer, a pen, and the actual pans you plan to name in the recipe.
Cook the dish the way you normally would, but weigh everything before it goes in. Trimmed weight is what matters: "one onion" is not a measurement, and onion size varies widely between a farm box and a supermarket bag. Record the trimmed, prepped weight, not what you bought.
Write down pan dimensions and material as you reach for them, because a 10-inch stainless skillet and a 12-inch nonstick skillet produce different browning from identical ingredients. Note the burner setting in words — low, medium, medium-high — since numbers on dials differ between ranges.
Time every stage with the timer rather than your sense of how long it felt. Next to each time, write what the food looked, smelled or sounded like at that moment: edges translucent, liquid at a lazy bubble, crust releasing from the pan. Those notes become your sensory cues in Step 3.
If your log is going to carry weights, make sure the scale is doing its job properly — a quick refresher on weighing ingredients accurately will save you from tare-button mistakes that silently shift a whole recipe.
Step 2 — Write the header block and the ingredient list in use order
What you need: your cook log, the finished dish in front of you (or photographed), and a decision on units from the reference table.
The header block answers the questions a cook asks before starting: what this makes, what equipment it needs, what oven temperature to preheat, and what can be done ahead. Put the oven temperature in the header and repeat it in the method step where it matters. Readers skim headers; they also skip them entirely.
List ingredients in the exact order the method calls for them. A cook reading top to bottom should be able to set up their station without jumping around, which is the whole point of getting every component prepped before the heat goes on.
Put the amount first, the ingredient second, the prep last. Example: "225 g carrots, cut into coins" tells a cook to weigh whole carrots and then cut, while "225 g carrot coins" means weigh after cutting. Both are valid. Only one matches what you did.
Group ingredients with subheadings when the recipe has distinct components — sauce, filling, topping — and make the subheadings match the method’s language exactly. Never introduce an ingredient in the method that does not appear in the list.
Step 3 — Write the method as numbered, single-action steps with sensory cues
What you need: your timed cook log and a ruthless willingness to split sentences.
One step, one action. "Heat the oil, add the onion and cook until soft while you chop the garlic" is three jobs hiding in one number, and a cook will drop at least one of them. Split it, number it, and let the list be longer.
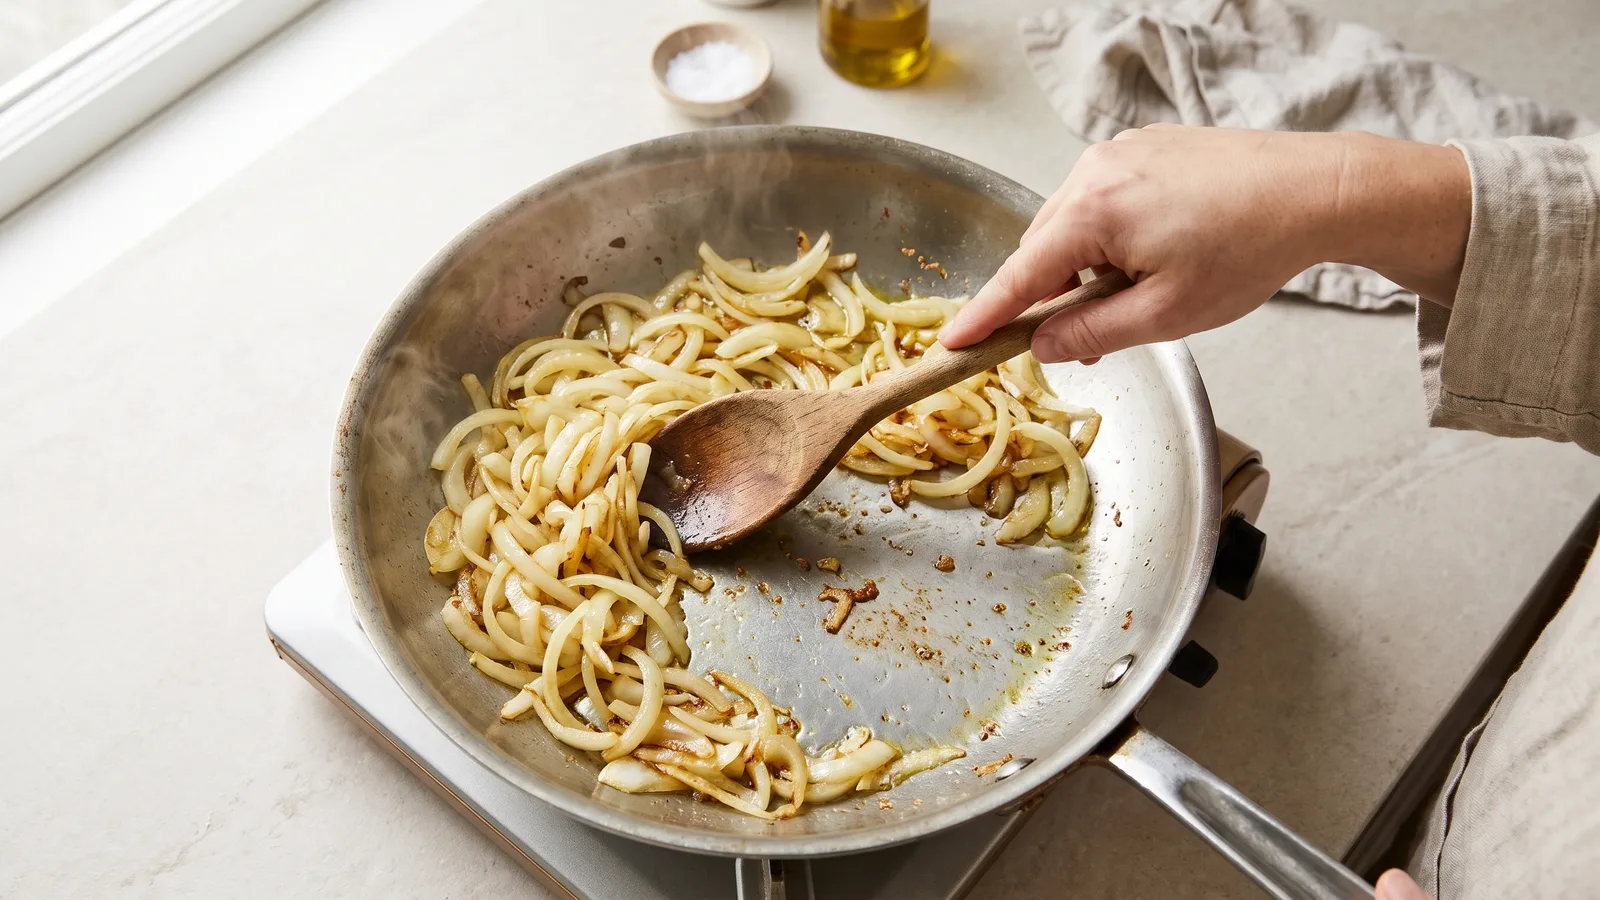
Every "until" needs something a stranger can verify with their eyes, ears, nose or a thermometer. "Cook until done" is unusable. "Cook until the edges are translucent and the onion no longer squeaks against the pan" gives two independent signals, and the time estimate from your log becomes the backup rather than the instruction.
Name the pan and the heat level inside the step, not only in the header. State what the food should look like at the end of the step, because that is how a cook self-corrects before the next one compounds the error.
Write the trouble notes inline where they occur. If the sauce can break, say so at the step where it breaks, with the fix in the same sentence. A troubleshooting section at the bottom is read after the dish has already failed.
Read the finished method aloud while standing up. Anything you stumble over is a step a tired cook will misread at 7 p.m.
Step 4 — Adapt the written recipe into a short vertical cooking video
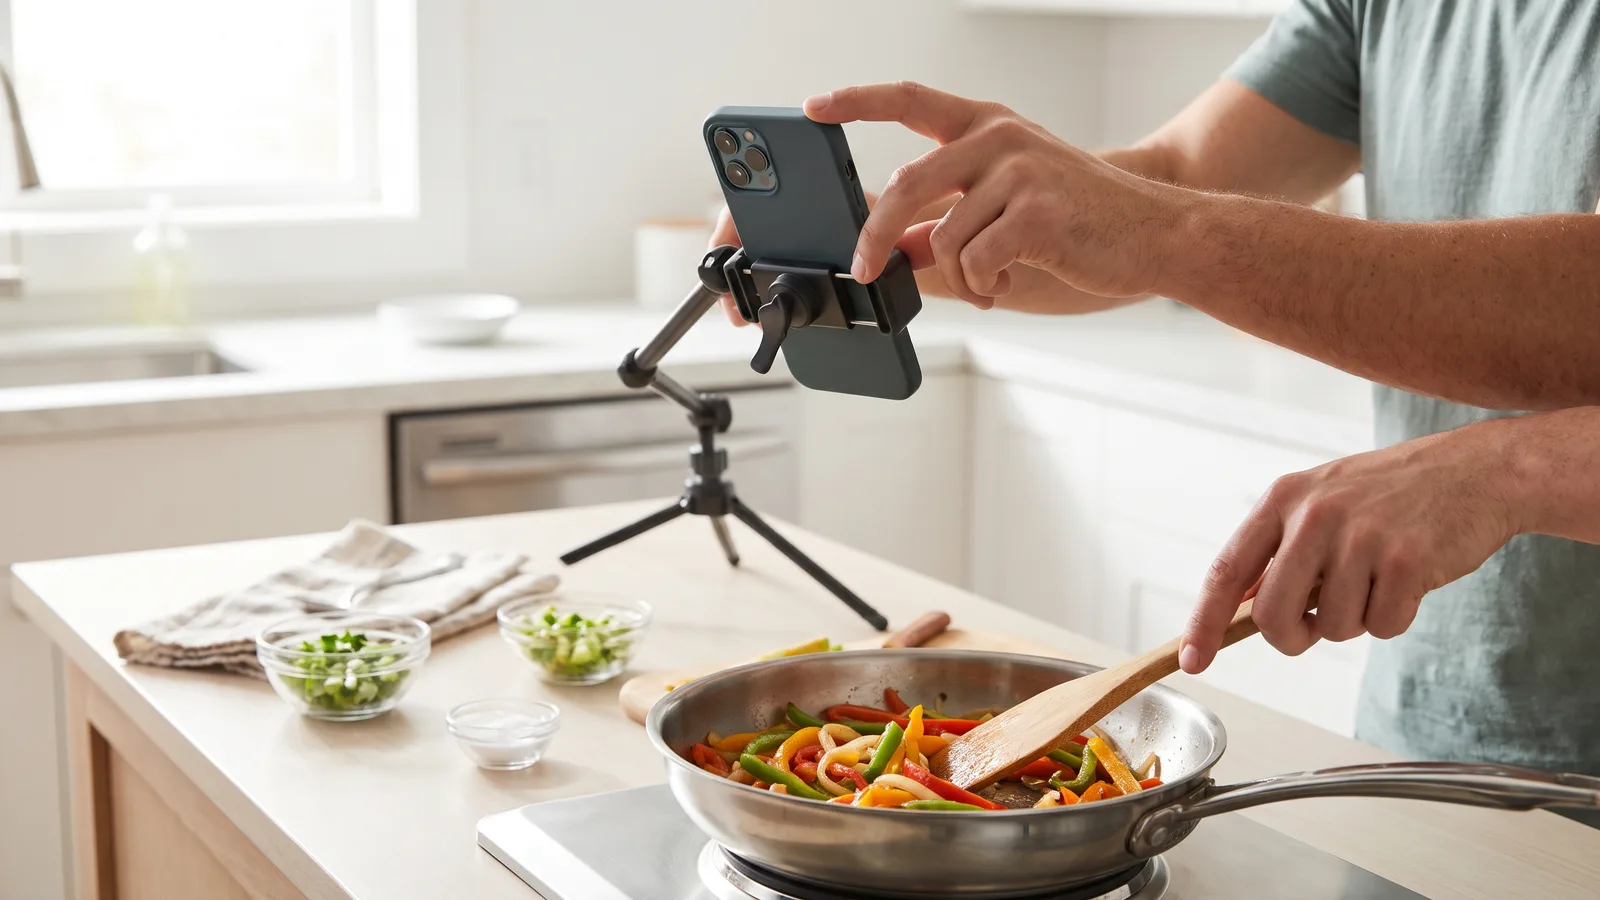
What you need: a phone, an overhead arm or tripod, your numbered method, and a plan for text on screen.
According to YouTube Help, YouTube Shorts can now be up to three minutes long. Map your numbered steps onto that runway before filming: one shot per step, one on-screen weight per shot, and the finished dish in the first two seconds so viewers know where this is going.
Film vertically and frame tight on the pan or board. Hands enter from the side, not the bottom, so the action is never hidden behind your own wrist. Shoot each step twice — once wide for context, once close for the cue you described in writing.
YouTube Help notes that Shorts running up to three minutes can be uploaded through the YouTube app and through YouTube Studio, so you can edit on a laptop and publish without re-exporting for a phone.
Put the weights on screen as text because audio gets muted. Caption the doneness cue at the exact frame it happens, not at the start of the shot. The principles behind what makes a cooking video genuinely easy to follow apply here: pacing beats polish, and the viewer should always know which step they are watching.
Check it works: the hand-off test, a timing audit and a music check
Give the written recipe to someone who has never made the dish, hand them the ingredients, and say nothing. Watch where they hesitate. Every pause, every re-read, every "wait, how much?" is a defect in your draft, not a failing of the cook.
Run a timing audit next. Add up the times you wrote per step and compare that total against your logged session, including prep. Recipes that claim thirty minutes and demand an hour are the fastest way to lose a reader permanently.
Then check the video’s audio and claims. YouTube Help states that most songs can be used for up to 90 seconds inside a 3 minute Short. According to YouTube Help, a Short over one minute long that carries an active copyright claim of any type is blocked globally, so a long recipe video with borrowed music can disappear from every country at once.
The most common failure: an ingredient listed but never used, or used but never listed. It happens when you edit the method after the list is written. Avoid it by reading the ingredient list and the method side by side and crossing off each line as the method consumes it.
Pre-publish checklist
- Every ingredient in the list appears in the method, in the same order and the same words.
- Every "until" has a visual, audible or thermometer cue, not just a time.
- Pan size, material and heat level are named in the step where they matter.
- Yield states servings or a count, and the header repeats the oven temperature.
- A first-time cook completed the dish from the written page alone, unaided.
- Step times add up to the stated total, prep included.
- Video is vertical, weights appear as on-screen text, and the music clears the platform rules above.
This section summarizes YouTube’s published Shorts rules for creators uploading to that platform; rules differ on other platforms and change over time. It is general information, not legal advice.
Frequently asked questions
Should I write amounts in grams or cups?
Use grams for baking and anything where ratio decides the outcome, since a cup of flour varies with how it is scooped. Give volume in brackets as a courtesy for cooks without a scale, and never convert a finished recipe without re-testing the batch.
How long can a cooking Short be, and where do I upload it?
YouTube Help notes that Shorts running up to three minutes can be uploaded through the YouTube app and through YouTube Studio, so you can cut the edit on a computer. For a recipe, length should follow the number of real steps rather than the maximum allowed.
Can I use a popular song behind my recipe video?
YouTube Help states that most songs can be used for up to 90 seconds inside a 3 minute Short, which means you will need audio you are cleared to use for the rest of the runtime. Check the platform’s rules in the section above before you publish, not after.
How do I know my recipe actually works for someone else?
Run the hand-off test described above: give the written page and the ingredients to a cook who has never made the dish, say nothing, and note every hesitation. Each pause marks a sentence that needs a weight, a pan size or a clearer doneness cue.
How many steps should a recipe have?
As many as it takes when each step is a single action, which usually means more numbers than you expect. Splitting a crowded instruction into three short ones costs nothing on the page and prevents a cook from dropping the middle task while the pan heats.
Sources
AI tools helped write this guide. The Cooking and Kitchen Editorial Team published it after checking every figure against the sources linked above.
Related articles

Cooking and Kitchen Editorial Team
Articles on Cooking and Kitchen are written by the editorial team with AI assistance and checked against the cited sources.


You May Also Like
How to Remove Grease From Kitchen Cabinets Safely
How to Cook Frozen Broccoli Without the Mush